原文地址:https://lala.im/6594.html,請支持原作者!該處僅作轉載。
因步骤略繁琐,为了让各位有看下去的动力,先上两首歌,你阔以边听边折腾,这样不会感觉到枯燥。。
需要用到两个开源的项目,分别是:
https://github.com/AlphaReign/www-php # 前端(WEB服务)\nhttps://github.com/AlphaReign/scraper # 爬虫(后端)
你还需要准备一台配置较高的海外VPS或者独立服务器(VPS至少4GB内存,CPU也不能太渣)
以下步骤在Debian10上操作,先安装一些需要用到的软件:
apt -y update
apt -y install build-essential curl git unzip python-certbot-nginx nginx mariadb-server
因前端需要PHP7.0,而Debian10的官方存储库内只有7.3,故这里添加sury的源来安装PHP7.0:
apt -y install apt-transport-https ca-certificates lsb-release
wget -O /etc/apt/trusted.gpg.d/php.gpg https://packages.sury.org/php/apt.gpg
echo "deb https://packages.sury.org/php/ $(lsb_release -sc) main" > /etc/apt/sources.list.d/php.list
apt -y update
安装需要用到的PHP7.0软件包:
apt -y install php7.0-common php7.0-cli php7.0-cgi php7.0-fpm \
php7.0-mysql php7.0-sqlite3 php7.0-curl php7.0-mbstring
安装composer:
curl -sS https://getcomposer.org/installer | php
mv composer.phar /usr/bin/composer
安装nodejs/pm2/yarn:
curl -sL https://deb.nodesource.com/setup_10.x | bash -
apt -y install nodejs
npm i -g pm2
npm i -g yarn
安装java/es:
apt -y install gnupg default-jre
wget -qO - https://artifacts.elastic.co/GPG-KEY-elasticsearch | apt-key add -
echo "deb https://artifacts.elastic.co/packages/7.x/apt stable main" | tee -a /etc/apt/sources.list.d/elastic-7.x.list
apt -y update
apt -y install elasticsearch
初始化MySQL/登录MySQL:
mysql_secure_installation
mysql -u root -p
创建一个名为dht的用户/数据库:
CREATE DATABASE dht CHARACTER SET utf8mb4 COLLATE utf8mb4_unicode_ci;
CREATE USER 'dht'@'localhost' IDENTIFIED BY '设置你的数据库用户密码';
GRANT ALL PRIVILEGES ON dht.* TO 'dht'@'localhost' WITH GRANT OPTION;
FLUSH PRIVILEGES;
quit
将之前安装的软件设置开机自启:
systemctl enable nginx
systemctl enable mariadb
systemctl enable php7.0-fpm
systemctl enable elasticsearch
拉取前端源码/安装依赖/修改数据库配置:
cd /opt
git clone https://github.com/AlphaReign/www-php.git
cd www-php
composer install
nano index.php
找到如下位置修改数据库连接配置:
define('DBNAME', 'dht');
define('DBUSER', 'dht');
define('DBPASS', '你的数据库用户密码');
拉取后端源码/安装依赖/修改数据库配置:
cd /opt
git clone https://github.com/AlphaReign/scraper.git
cd scraper
yarn
yarn migrate
nano config/index.js
找到如下位置修改数据库连接配置:
                client: 'mysql',
                connection: {
                        database: 'dht',
                        host: '127.0.0.1',
                        password: '你的数据库用户密码',
                        user: 'dht',
启动后端服务:
pm2 start ecosystem.config.js新建nginx站点配置文件:
nano /etc/nginx/conf.d/dht.conf写入如下配置:
server {
    listen       80;
    server_name  dht.233.fi; # 换成你的域名
    index        index.html index.htm index.php;
    root         /opt/www-php;
    client_max_body_size 128g;

    location / {
        try_files $uri $uri/ /index.php;
    }

    location ~ \.php$ {
        fastcgi_pass   unix:/run/php/php7.0-fpm.sock;
        fastcgi_index  index.php;
        fastcgi_param  SCRIPT_FILENAME  $document_root$fastcgi_script_name;
        include        fastcgi_params;
    }
}
重载或者重启nginx:
systemctl reload nginx
systemctl restart nginx
现在打开你的网站应该会看到一条这样的信息:Doing some maintenance
稍等片刻,一旦有数据入库刷新网页后应该可以看到登录/注册页面:

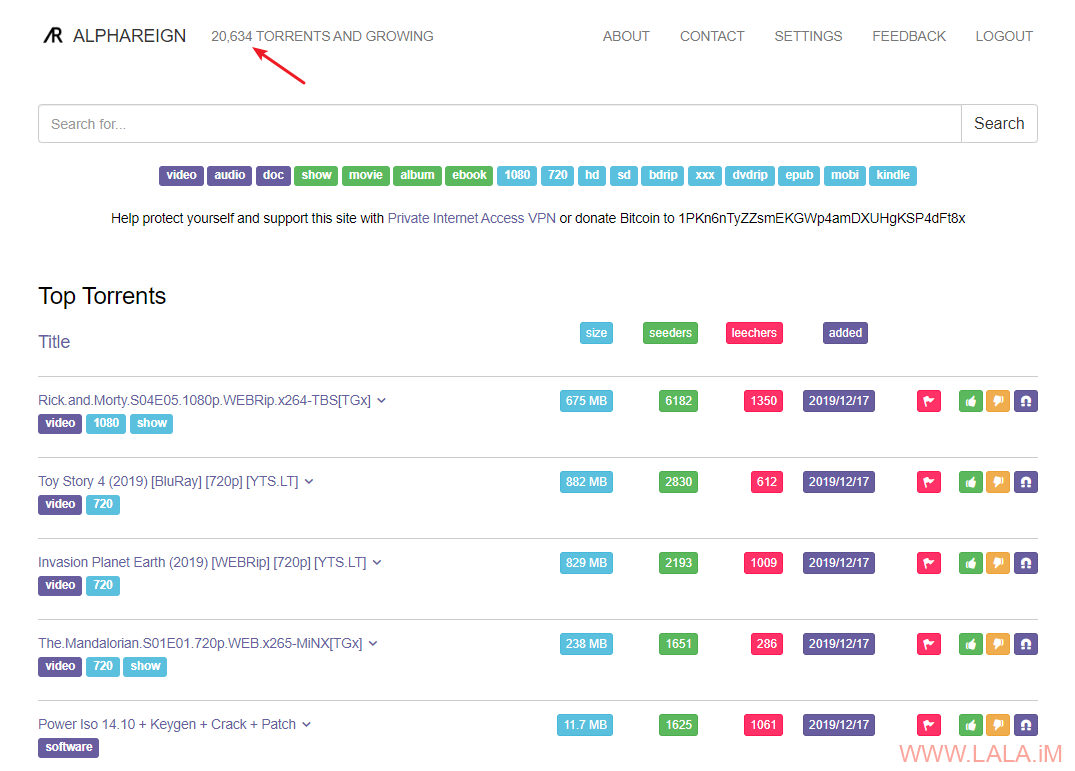
注册一个账号进去就可以搜索资源了,爬虫是实时入库的,在左上角可以看到当前数据库内一共有多少种子:

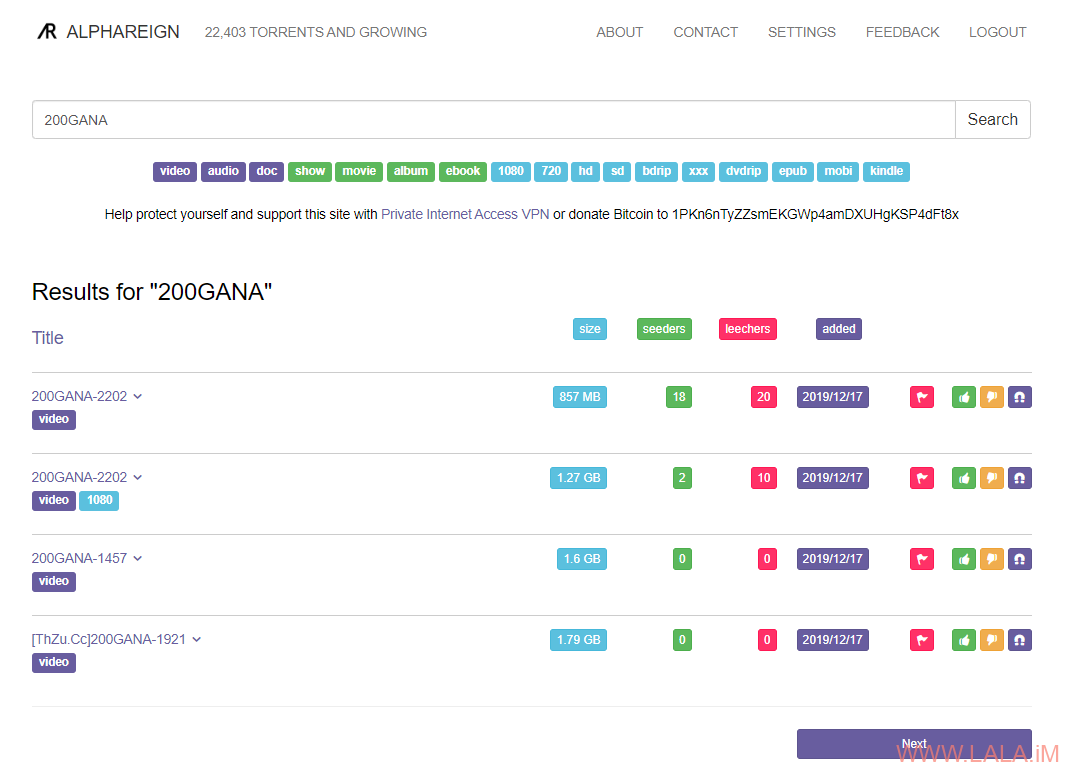
毕竟es加身,搜索结果很精准,搜索速度也很快:

这个爬虫的效率也很不错,一分钟几百个种子,挂它几个月,维护一个自己的种子库还不是美滋滋~
唯一的缺点可能就是对硬件配置要求较高,如果没有闲置机器的话可能要花比较多的钱去买VPS就是了。。
